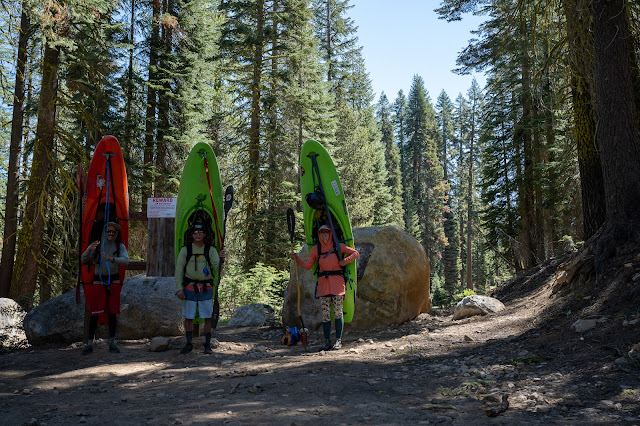
Training for Races, some tactics
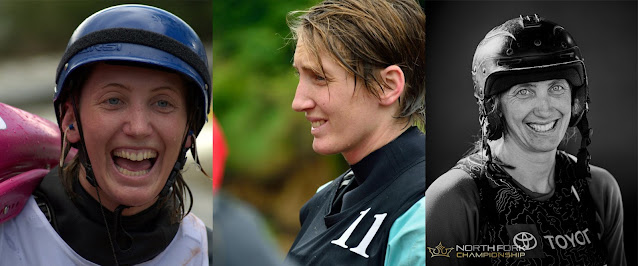
So, you've spent a season or two making sure that your mental base is solid and you're centered, well adjusted, and happy. You're competing for all the right reasons, with a zen-like detachment from any results. But… wouldn't it be nice if those results were maybe just a little better? How exactly can you work on racing faster? Here are some strategies and tactics that we’ve found helpful. What follows are not physical training tips to improve fitness, although fitness is a big part of racing and there are many dimensions to fitness. These tips are also not specific technique tips, like “take a more vertical stroke,” although again, paddling technique is perhaps more important than fitness. Instead, these are meta-tips. They’re tips that should help you analyze your own paddling so that you can figure out what small changes to make to your technique or to your lines. The tips break down into a few easy steps. Observe others figure out what makes them faster l